
A pneumatic rivet gun is a powerful tool that simplifies riveting, making it an essential piece of equipment for professionals in construction, automotive repair, and metalworking. If you want to achieve strong, reliable riveted joints with speed and precision, learning how to use a pneumatic rivet gun properly is crucial.
In this guide, we’ll walk you through the step-by-step process of using a pneumatic rivet gun, covering setup, operation, and safety precautions.
What is a Pneumatic Rivet Gun?
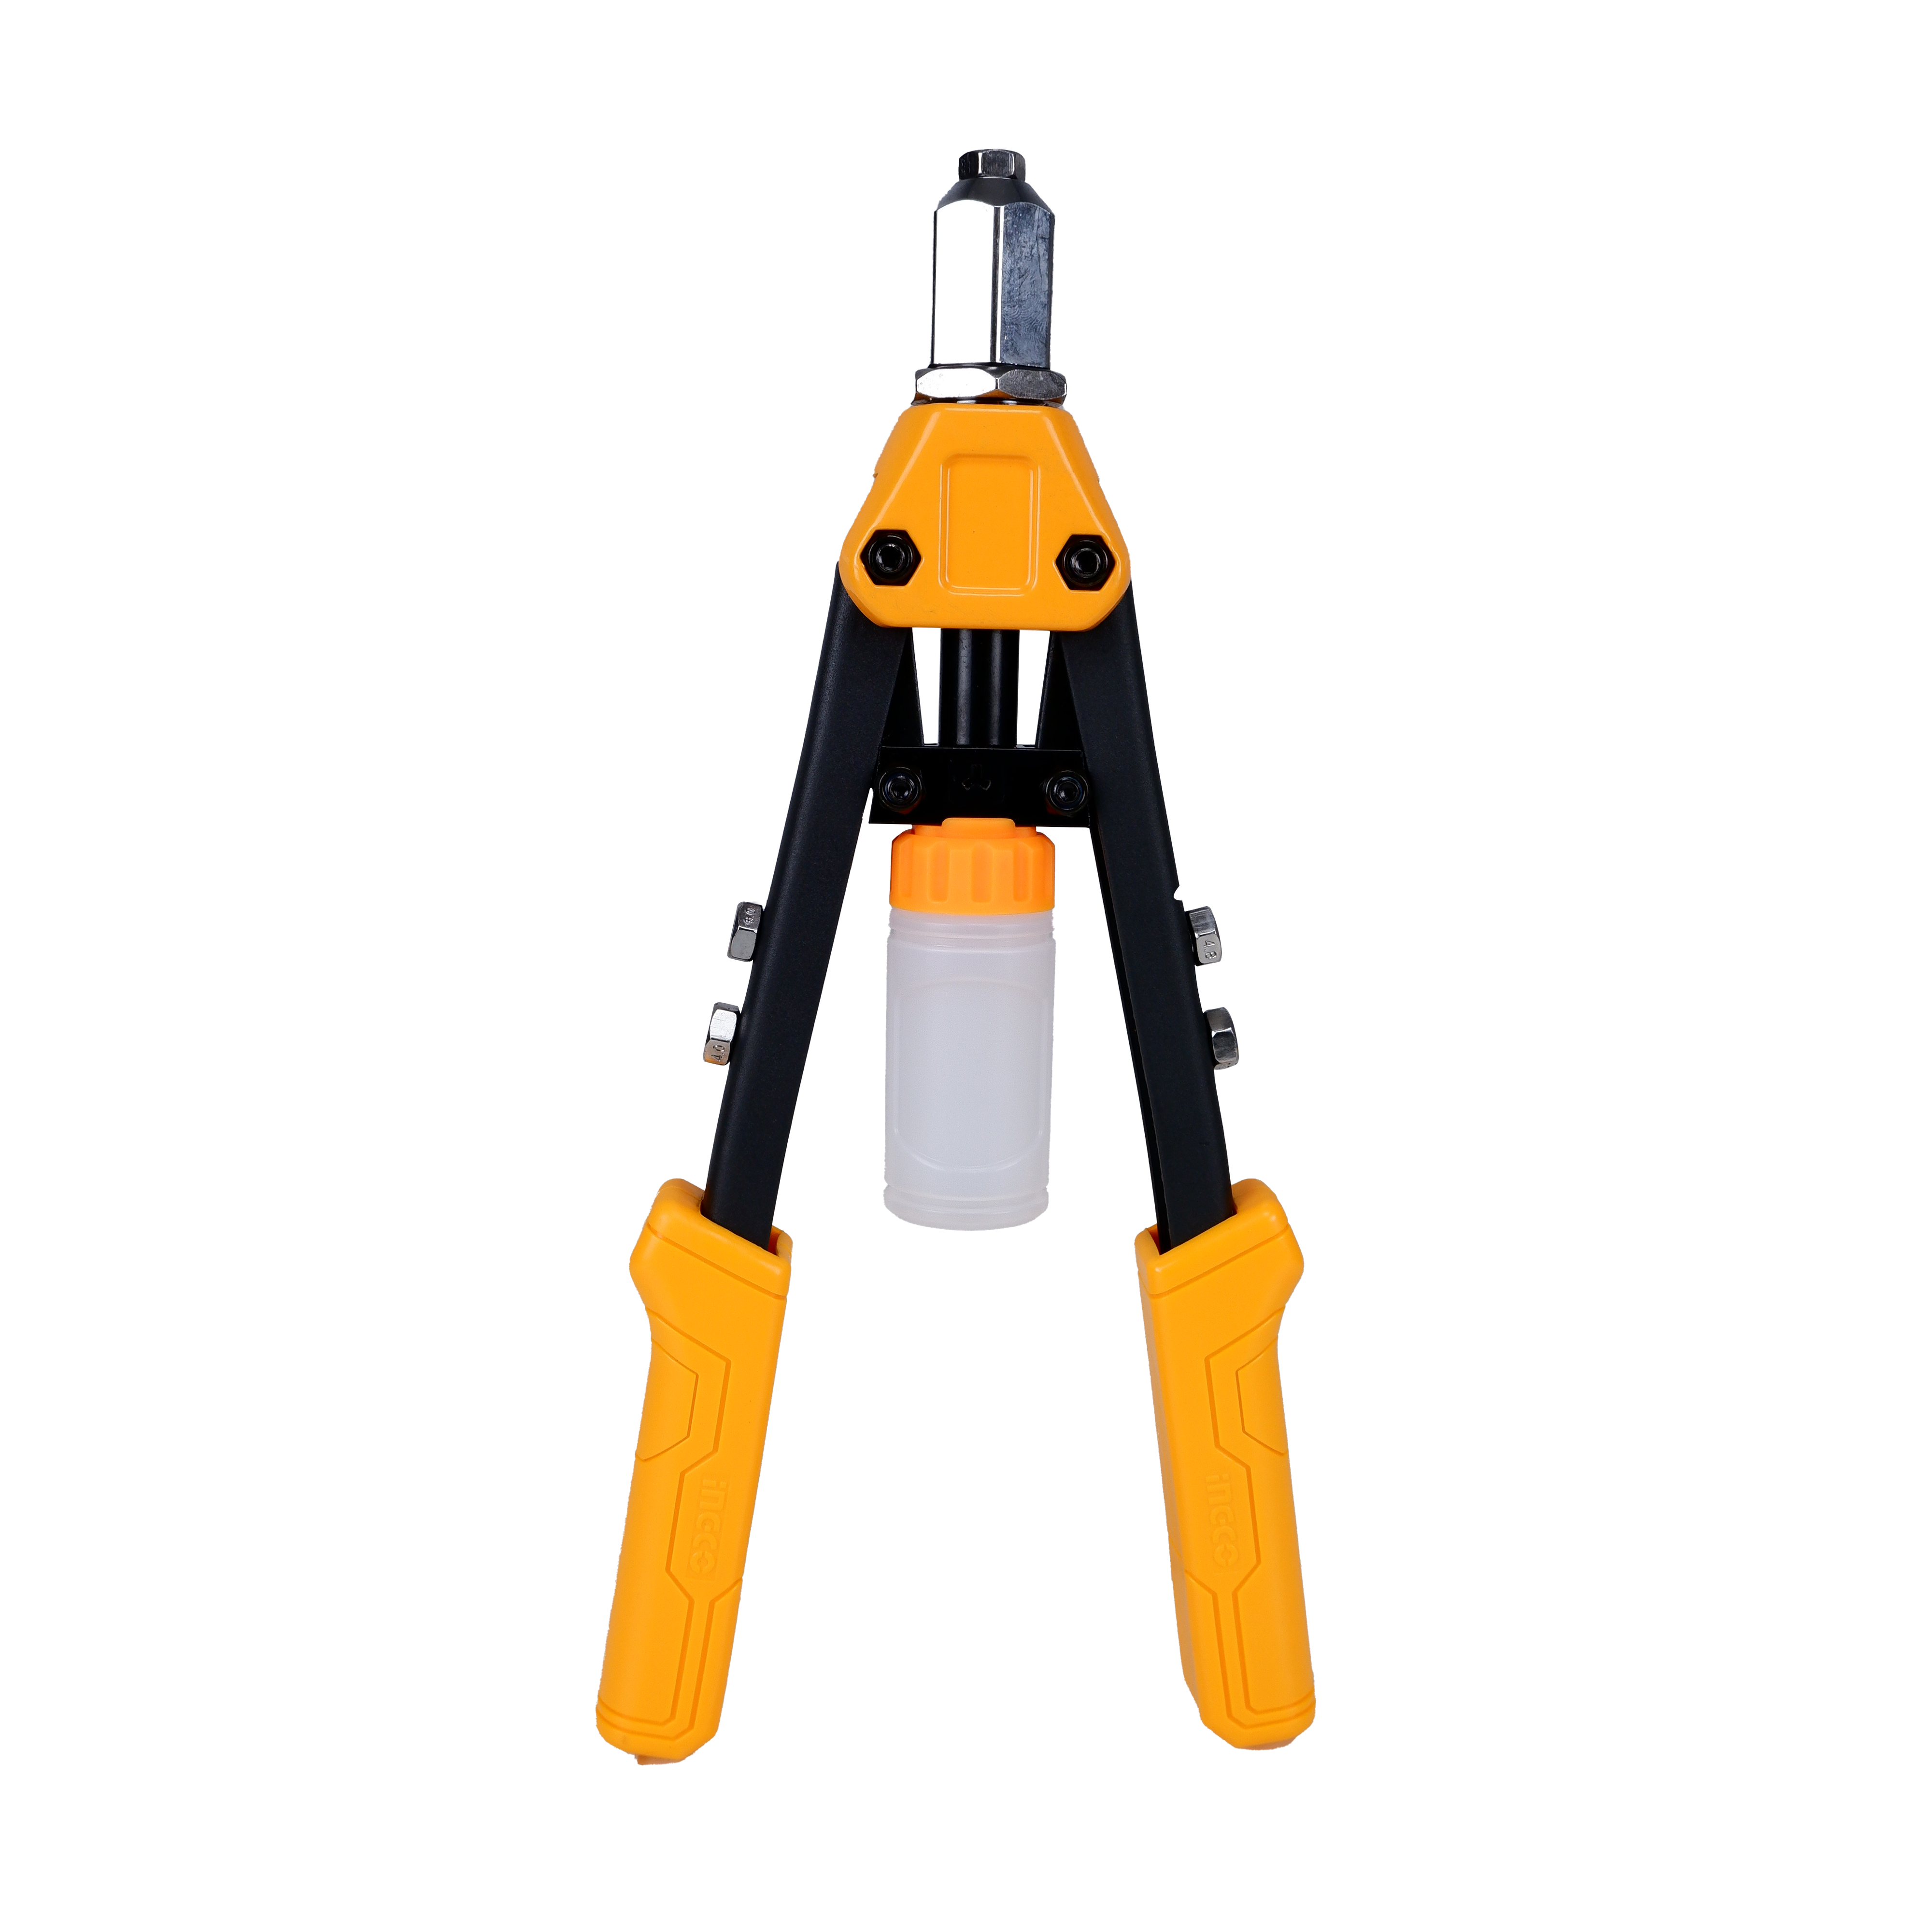
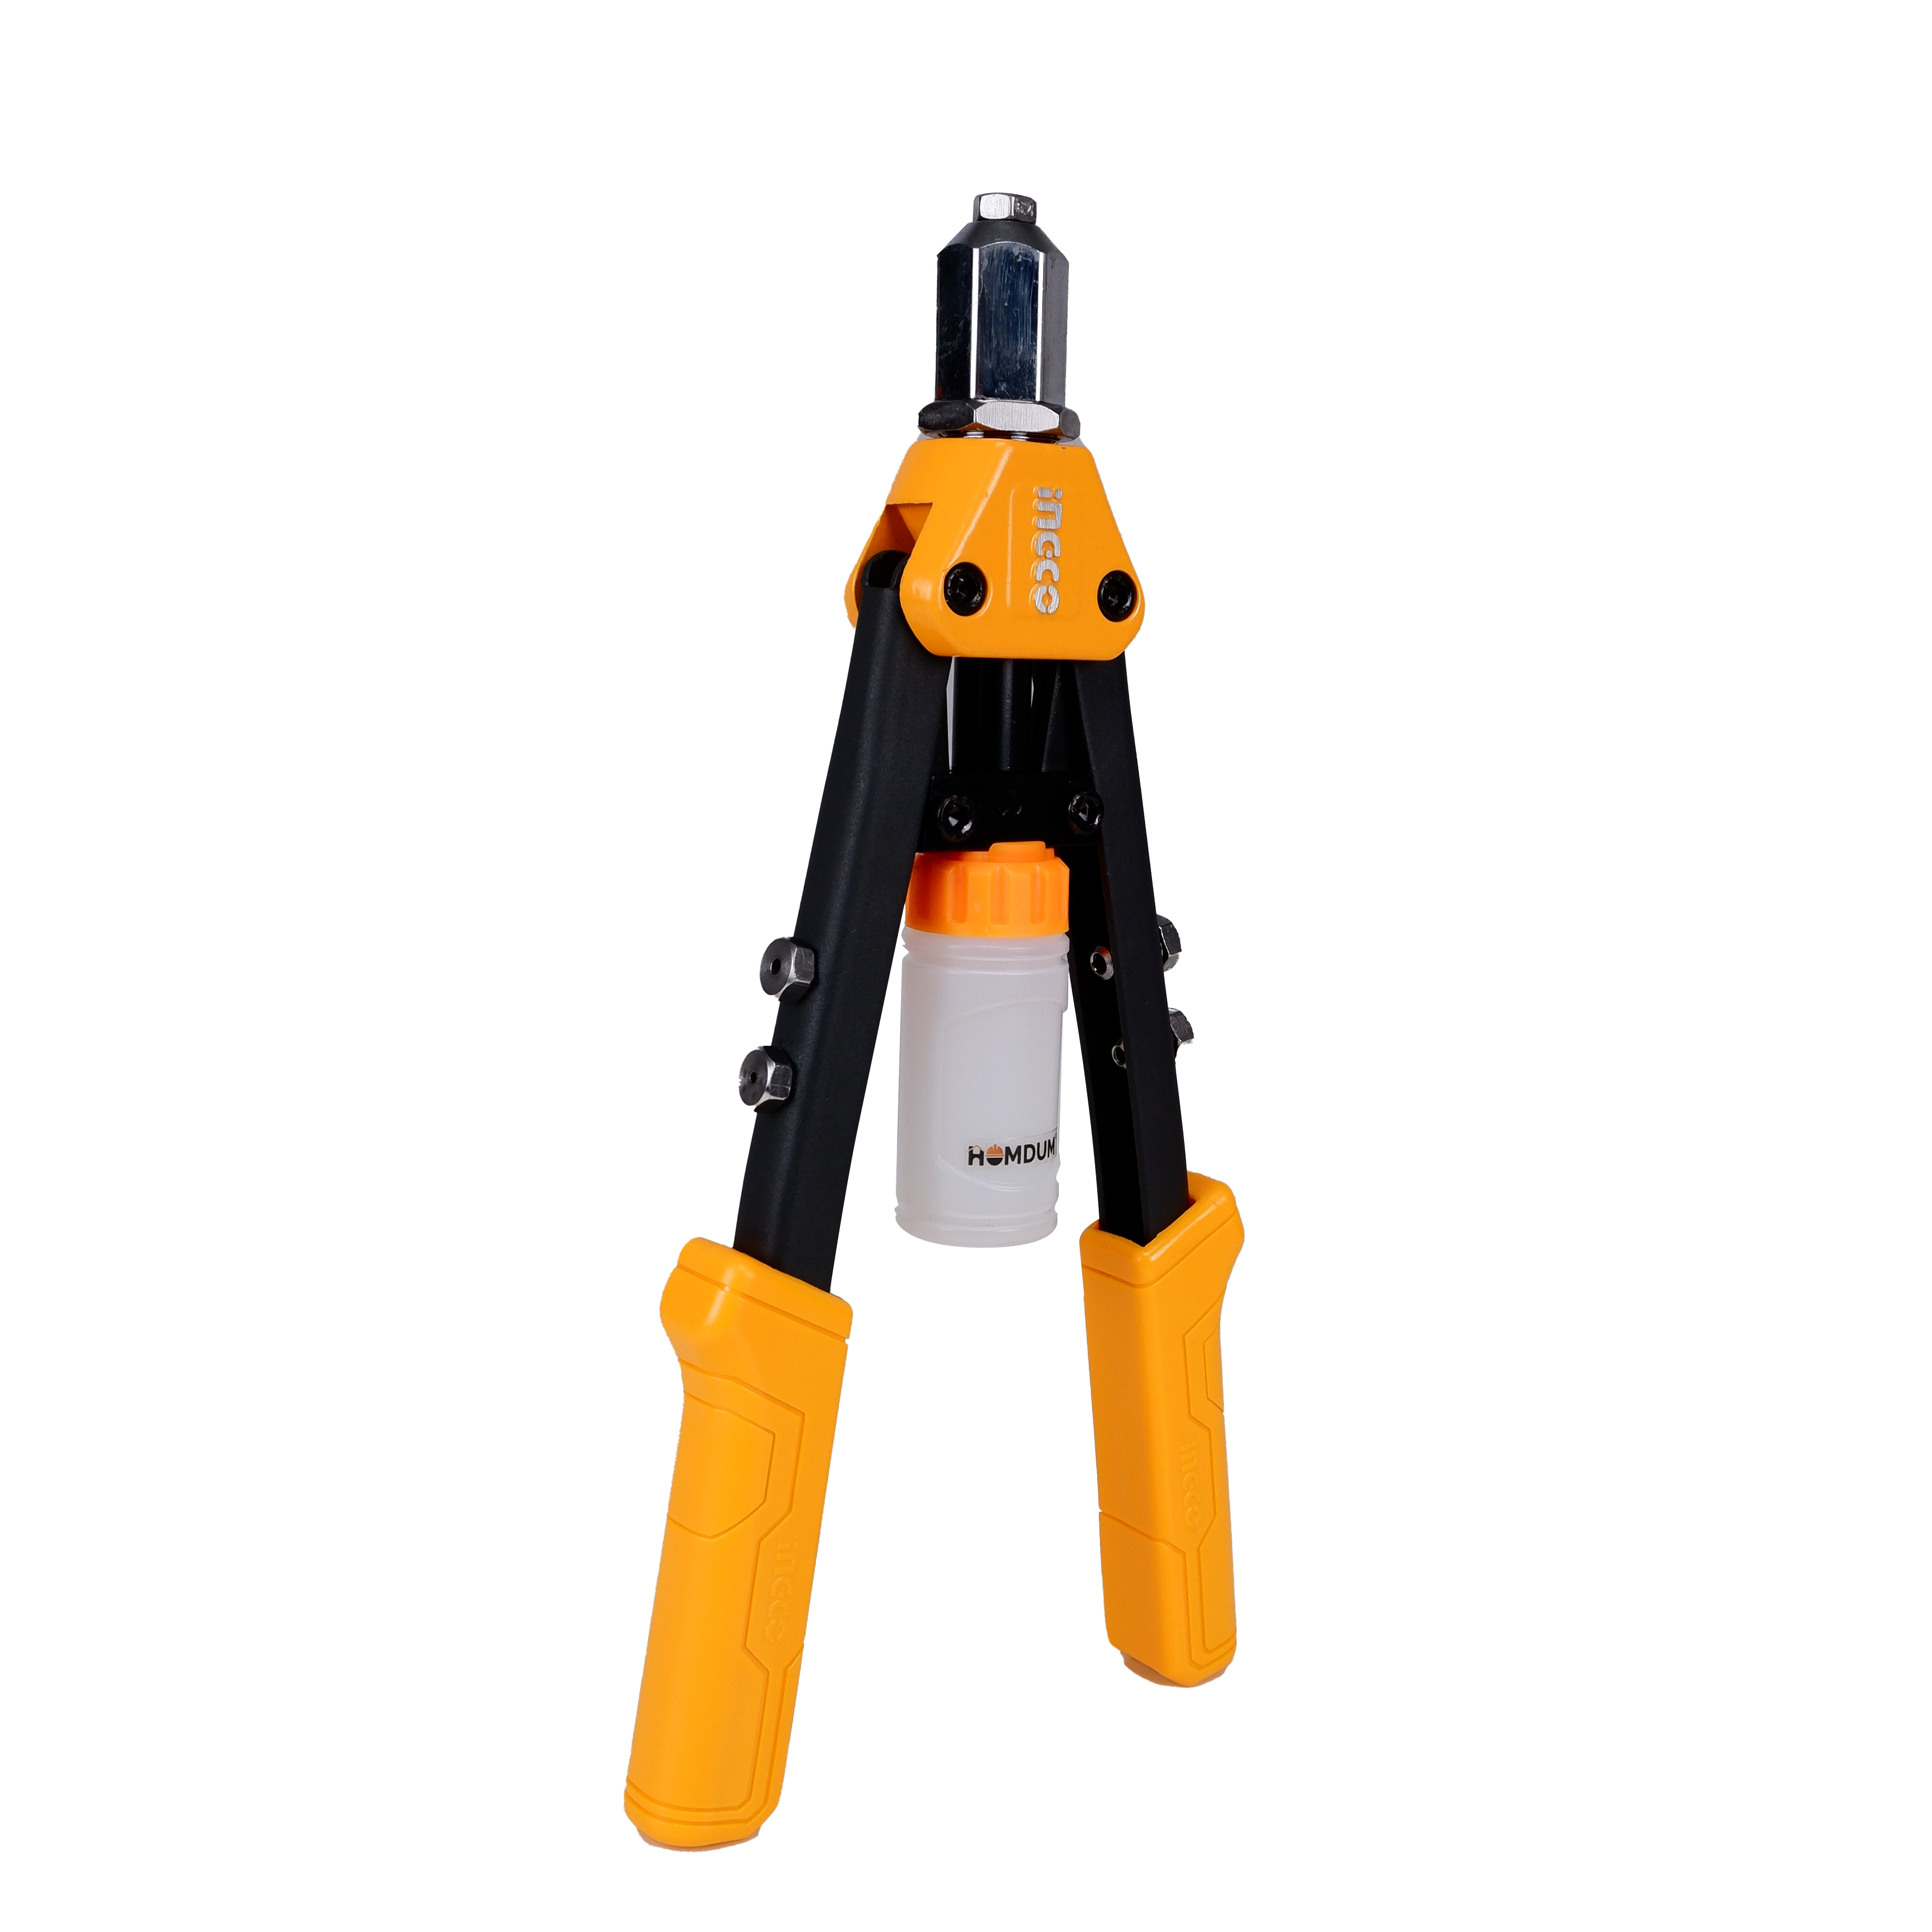
A pneumatic rivet gun is an air-powered tool that installs rivets quickly and efficiently. Unlike a manual rivet gun, which requires physical effort, a pneumatic rivet gun uses compressed air to drive rivets with precision, making it ideal for large-scale riveting tasks.
Advantages of a Pneumatic Rivet Gun
-
Fast & Efficient – Installs rivets in seconds, reducing work time.
-
Minimal Effort Required – Air pressure does the work, eliminating hand fatigue.
-
Consistent Results – Ensures uniform rivet installation, crucial for professional applications.
Now, let’s get into the step-by-step guide to using a pneumatic rivet gun like a pro.
Step 1: Gather Your Tools and Materials
Before starting, ensure you have everything you need for the job:
✔ Pneumatic rivet gun – The main tool for installing rivets.
✔ Air compressor – Supplies compressed air to power the rivet gun.
✔ Rivets – Choose the right size and type based on your project.
✔ Safety gear – Wear safety glasses, gloves, and ear protection.
✔ Drill & drill bits – If necessary, to create holes for the rivets.
Step 2: Set Up the Pneumatic Rivet Gun
To ensure smooth operation, follow these setup steps:
1. Connect the Air Compressor
-
Attach the pneumatic rivet gun to the air compressor using a compatible air hose.
-
Make sure the connection is secure to prevent air leaks.
2. Adjust the Air Pressure
-
Set the air compressor to the recommended pressure level (usually 60-90 PSI, but check the gun’s manual).
-
Too much pressure can damage the rivet or workpiece, while too little pressure may not install the rivet properly.
3. Load the Rivet Gun
-
Insert the correct-sized rivet into the gun’s nosepiece.
-
Ensure the rivet is seated properly before proceeding.
Step 3: Prepare the Workpiece
To achieve a strong, lasting riveted connection:
✔ Drill a hole (if necessary) using the correct-sized drill bit for your rivet.
✔ Clean the hole to remove debris that could affect the rivet's grip.
✔ Align the materials properly before inserting the rivet.
Step 4: Insert and Secure the Rivet
Now that everything is set up, follow these steps to install the rivet:
-
Place the rivet into the hole – Insert the rivet’s stem (mandrel) into the pre-drilled hole.
-
Position the rivet gun correctly – Ensure the gun’s nosepiece is flush against the rivet head.
-
Activate the trigger – Press the trigger to pull the rivet’s mandrel, expanding the rivet body to secure the materials together.
-
Let the mandrel snap off – Once the rivet is fully set, the mandrel will break off, leaving a clean and secure fastening.
Step 5: Check and Finish the Riveting Process
✔ Inspect the rivet – Ensure it is tightly secured with no gaps or loose edges.
✔ Remove the broken mandrel – Dispose of it properly to keep the workspace clean.
✔ Repeat the process – Continue riveting as needed for your project.
Step 6: Maintenance & Safety Tips
Safety Precautions
-
Always wear safety glasses to protect your eyes from flying debris.
-
Use hearing protection if working with loud air compressors.
-
Keep your hands and fingers away from the rivet gun’s nosepiece when in use.
-
Never exceed the recommended air pressure to prevent tool damage.
Maintenance Tips
-
Clean the rivet gun after each use to prevent jamming.
-
Check air connections regularly for leaks or loose fittings.
-
Lubricate moving parts to keep the tool running smoothly.
-
Store the tool properly in a dry, dust-free environment.
Final Thoughts: Master Riveting Like a Pro
A pneumatic rivet gun is a game-changer for those who need fast and reliable rivet installation. Whether you're working on automotive repairs, metal fabrication, or industrial projects, mastering this tool will boost efficiency and precision.
Looking for the best pneumatic rivet guns? Explore our collection, including air rivet guns, blind rivet guns, and pop rivet guns, to find the perfect tool for your needs.
Still have questions? Drop a comment below, and we’ll help you get started!

Leave a comment
This site is protected by hCaptcha and the hCaptcha Privacy Policy and Terms of Service apply.